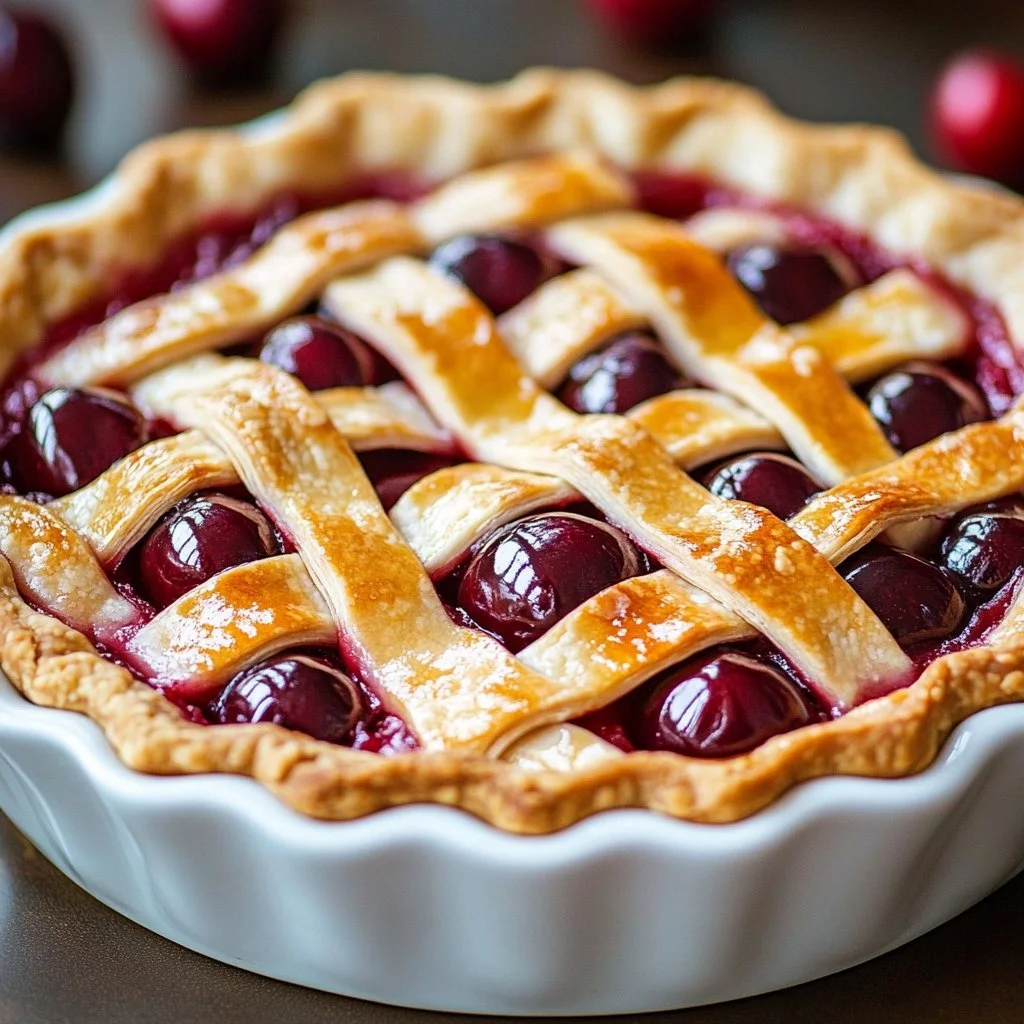
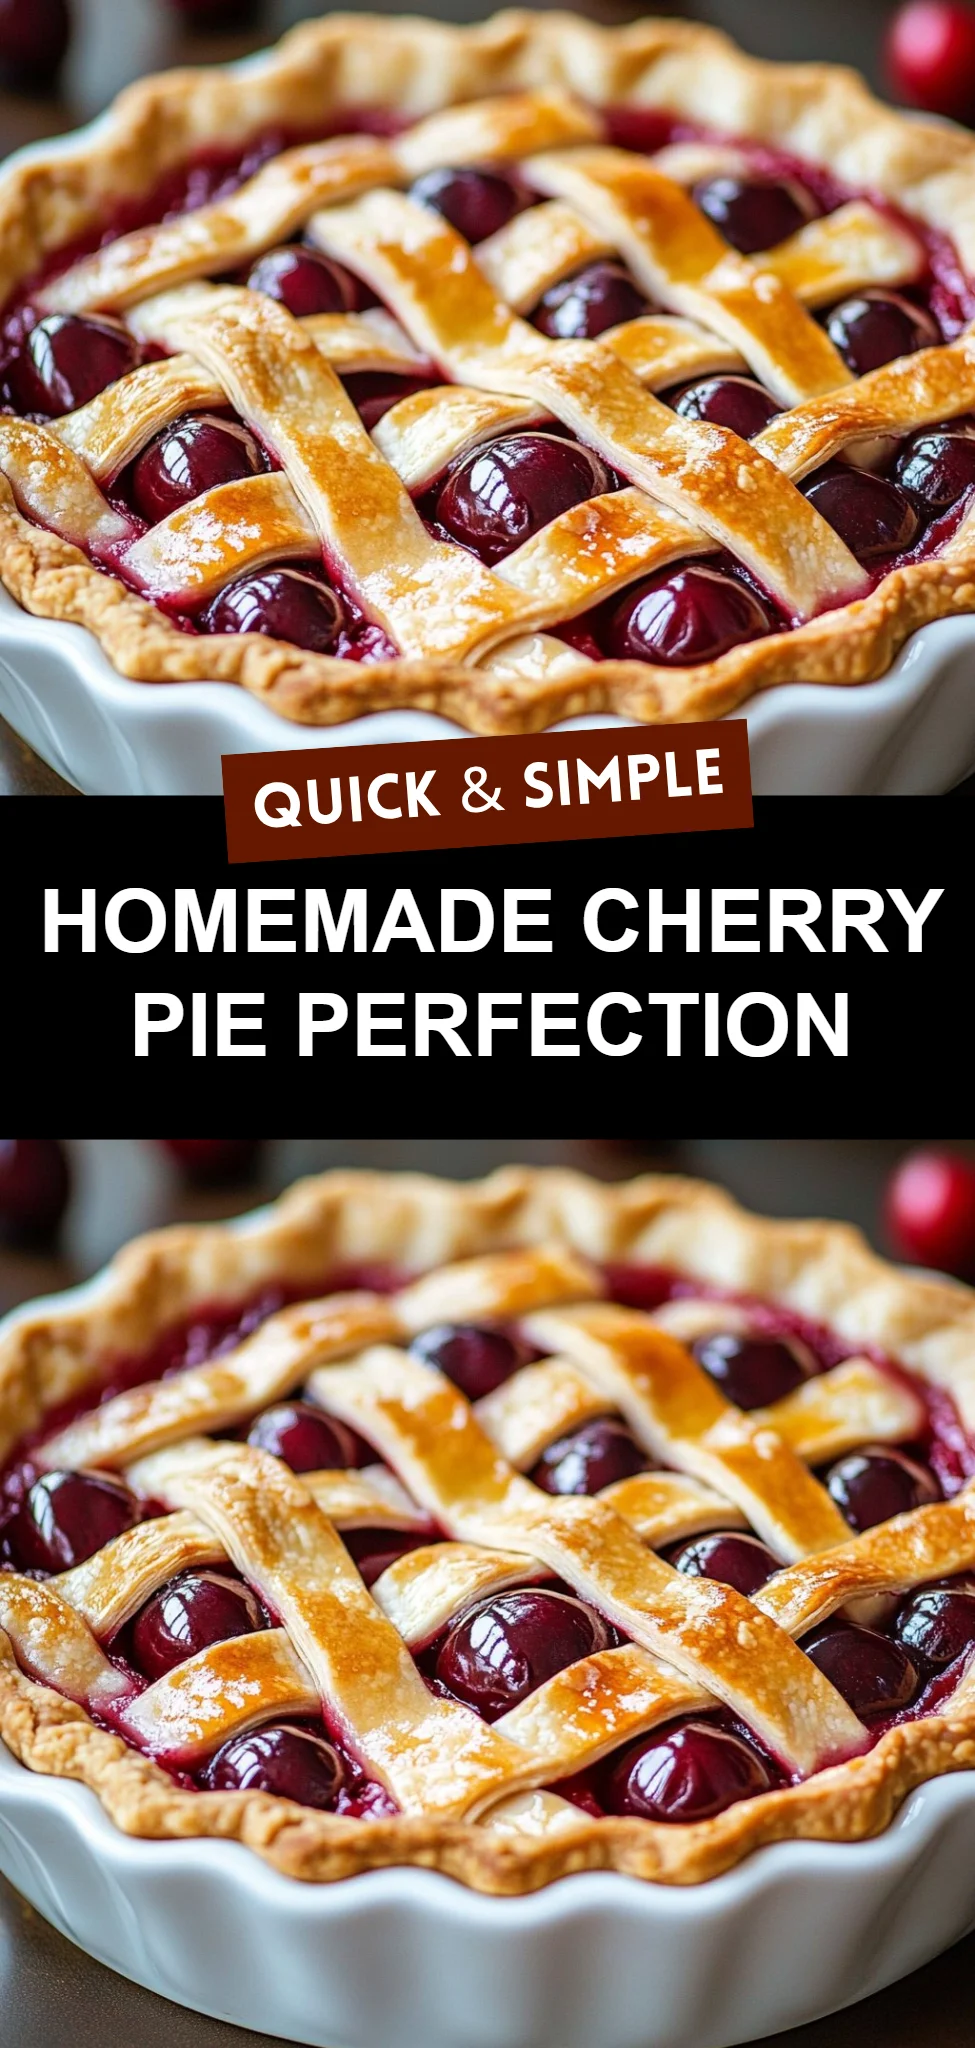
Perfect Homemade Cherry Pie is the quintessential dessert that captures the essence of home-cooked goodness. The moment you take a bite, you’ll be enveloped in the comforting flavors of sweet, juicy cherries nestled in a flaky, buttery crust. This delightful pie is perfect for any occasion, be it a festive family gathering or a simple summer evening. With its warm, inviting aroma and beautiful, vibrant color, Perfect Homemade Cherry Pie not only appeals to the senses but also evokes fond memories of baking in the kitchen with loved ones. This recipe is straightforward, offering a step-by-step guide to ensure that even novice bakers can create this slice of heaven with ease.
Ingredients
Let’s gather the ingredients that will transform your baking experience into something magical. You will need:
- 4 cups Fresh Cherries, pitted: These cherries will burst with flavor, providing a juicy, sweet base for your pie.
- 1 cup Granulated Sugar: The sugar will enhance the natural sweetness of the cherries, creating a delightful filling.
- 2 tablespoons All-Purpose Flour: This will give the filling a beautiful thick texture, preventing it from becoming too runny.
- 1 tablespoon Fresh Lemon Juice: A splash of acidity that brightens the overall flavor, balancing the sweetness.
- 2 tablespoons Unsalted Butter: This will add richness to the filling and help create a sumptuous experience with every bite.
- 1 prepared Pie Crust: A flaky, tender crust that cradles all the goodness and adds that essential crunch.
Each ingredient plays a crucial role in crafting a pie that is not only delicious but also aesthetically pleasing. Together, they create a symphony of flavors that is truly unforgettable.
Step-by-Step Directions
Crafting the Perfect Homemade Cherry Pie is an enjoyable journey and here’s how to do it:
-
Preheat your oven to 425°F (220°C): This is essential for achieving a perfectly golden-brown crust.
-
Prepare the Cherry Filling: In a large mixing bowl, combine the pitted cherries, granulated sugar, all-purpose flour, and fresh lemon juice. Toss gently to coat the cherries, and then let the mixture sit for about 10-15 minutes to allow the flavors to meld and the juices to be released.
-
Roll the Pie Crust: Take one half of your pie crust and roll it out on a lightly floured surface. Carefully transfer it into your pie dish, ensuring it covers the bottom and up the sides.
-
Add the Cherry Filling: Pour the luscious cherry filling into the prepared crust, making sure to evenly distribute the cherries. Dot the top with small pieces of unsalted butter for added richness.
-
Cover with Crust: Roll out the second half of the pie crust and gently lay it over the filling. Cut slits in the crust to allow steam to escape, ensuring your pie bakes evenly.
-
Seal and Crimp the Edges: Trim any excess crust around the edges and crimp them together for a classic pie look. This not only seals in the filling but also adds a beautiful decorative touch.
-
Bake: Place the pie on a baking sheet to catch any drips, and bake for 15 minutes. Then, reduce the oven temperature to 350°F (175°C) and continue baking for an additional 30-35 minutes, or until the crust is golden and the filling bubbles invitingly.
-
Cool Before Slicing: Once your pie is out of the oven, let it cool for at least an hour. This will allow the filling to set properly, making the pie easier to slice and serve.
Following these simple, clear steps will lead you to a delicious homemade cherry pie that’s sure to impress anyone who takes a slice!
Tips & Tricks
For an extra touch, consider these chef’s tips to elevate your cherry pie:
- Taste Your Cherries: Before combining with sugar, taste your cherries. If they’re particularly sweet, reduce sugar slightly to balance the pie.
- Use Fresh Cherries: While you can use frozen cherries, fresh ones will provide the best texture and flavor.
- Egg Wash for Shine: For a beautiful golden crust, brush the top crust with an egg wash (1 egg mixed with a tablespoon of water) before baking.
- Add a Dash of Nutmeg: A sprinkle of nutmeg or cinnamon in the filling can add a delightful warmth to the flavor profile.
- Serve with Ice Cream: Vanilla ice cream or whipped cream pairs perfectly with the warm cherry pie, enhancing the sensory experience.
Serving Suggestions & Pairings
Perfect Homemade Cherry Pie is a versatile dessert that fits any occasion. It’s delightful on its own but can also be served with a scoop of vanilla ice cream, a dollop of whipped cream, or even a drizzle of chocolate sauce for a decadent twist. For a charming presentation, serve it warm, garnished with fresh mint leaves.
This pie makes an ideal dessert for summer barbecues, holiday parties, or simply a cozy night in with family. Pair it with a light, tangy lemonade or a cup of freshly brewed coffee for a comforting end to any meal.
Nutritional Information
While Perfect Homemade Cherry Pie is a treat, it’s good to be mindful of nutrition. A single slice contains approximately:
- Calories: 300-350 (depending on crust and filling)
- Total Fat: 14g (mostly from butter)
- Carbohydrates: 45g (primarily from sugar and cherries)
- Protein: 2g
- Fiber: 2g (cherries contribute some dietary fiber)
Enjoy in moderation, and balance it with healthy meals throughout the day!
Storing Tips & Variations
Should you have any leftovers, storing your cherry pie correctly is key:
- Room Temperature: Let it cool, then cover loosely with foil or plastic wrap. It can stay at room temperature for up to 2 days.
- Refrigeration: For longer storage (3-5 days), refrigerate. Make sure to cover it completely to prevent it from drying out.
- Freezing: You can freeze the pie for up to 3 months. Wrap it tightly in aluminum foil or plastic wrap, and when you’re ready to eat, thaw overnight in the fridge and reheat in the oven at 350°F until warmed through.
For those looking to add a twist, consider using different fruits like blueberries, raspberries, or even a mix of fruits for an exciting flavor combination.
Conclusion
Perfect Homemade Cherry Pie is a timeless recipe that brings warmth and joy into any kitchen. Whether it’s a special occasion or just a treat for yourself, taking the time to make this pie will surely be worth it. Once you taste it, you’ll understand why countless families cherish this recipe. We encourage you to try making it and share your experience with friends and fellow bakers. They might just join you in the joy of baking!
FAQs
-
Can I use frozen cherries for this recipe?
Yes, frozen cherries can be used. Make sure to thaw and drain any excess juice before mixing with other ingredients. -
How can I make my pie crust flakier?
Use cold ingredients, especially butter, and handle the dough as little as possible to prevent it from becoming tough. -
What should I do if my pie filling is too runny?
If your filling turns out runny, you can add an extra tablespoon of flour or cornstarch next time, or ensure that the cherries are well drained if using frozen ones. -
How long does this pie last?
At room temperature, it lasts about 2 days, but you can refrigerate it for up to 5 days for maximum freshness. -
Can I make this pie ahead of time?
Absolutely! You can prepare it a day in advance or freeze it before baking for up to 3 months. Just remember to thaw and bake it when you’re ready to enjoy!
Now, get ready to whip up your very own Perfect Homemade Cherry Pie! Happy baking!